Зарегистрируйтесь сейчас для лучшей персонализированной цитаты!


The Cisco Catalyst 1300 Series - переключательes (C1300(1) are advanced, high-performance network switches designed to meet the needs of modern enterprises. These switches offer enhanced security, scalability, and reliability, making them a cornerstone in building a robust network infrastructure. Proper configuration of the Cisco C1300 is crucial to leveraging its full potential. This guide provides a step-by-step approach to configuring your Cisco Catalyst 1300 Series Switches, ensuring optimal performance and security.
The Cisco Catalyst 1300 Series is designed for high-speed, secure, and reliable network connectivity. These switches are ideal for organizations that require scalable networking solutions with advanced features such as Layer 2 and Layer 3 switching, Quality of Service (QoS), and enhanced security protocols. Before diving into the configuration process, it's essential to understand the capabilities and features of the C1300 series.
Before configuring your Cisco C1300 switch, ensure you have the following:
Access to the Cisco IOS Command-Line Interface (CLI):You can access the CLI via a console cable connected to the switch or remotely through SSH if the switch is already on the network.
Proper Networking Setup:Ensure that all necessary cables (Ethernet, power, etc.) are properly connected.
Latest Firmware Version:It’s advisable to have the switch running on the latest firmware for security and functionality enhancements.
Step 1: Connect to the Switch
Connect your computer to the switch using a console cable.
Launch a terminal emulator (such as PuTTY or Tera Term) on your computer.
Set the terminal settings to the following:
Baud rate: 9600
Data bits: 8
Parity: None
Stop bits: 1
Flow control: None
Step 2: Access the CLI
Power on the switch. The terminal emulator will display the switch's boot sequence.
Once the switch has booted, you will see the CLI prompt. PressВход на сайтto start the session.
Step 3: Enter Global Configuration Mode
To begin configuring the switch, enter global configuration mode:
Switch> enable
Switch#configure terminal
Switch(config)#
Step 1: Set the Hostname
Assign a hostname to the switch to identify it on the network:
Switch(config)#hostname C1300-Switch
C1300-Switch(config)#
Step 2: Configure Management IP Address
Assign an IP address to the switch for management purposes. This allows remote access via SSH or Telnet.
C1300-Switch(config)#interface vlan 1
C1300-Switch(config-if)#ip address 192.168.1.10 255.255.255.0
C1300-Switch(config-if)#no shutdown
C1300-Switch(config-if)#Выход из здания
Step 3: Configure Default Gateway
Set the default gateway to enable communication with devices outside the local network.
C1300-Switch(config)#ip default-gateway 192.168.1.1
Step 4: Enable SSH for Remote Access
To secure remote access to the switch, configure SSH:
C1300-Switch(config)#ip domain-name example.com
C1300-Switch(config)#crypto key generate rsa
C1300-Switch(config)#ip ssh version 2
C1300-Switch(config)#username admin secret Cisco123
C1300-Switch(config)#line vty 0 15
C1300-Switch(config-line)#login local
C1300-Switch(config-line)#transport input ssh
C1300-Switch(config-line)#Выход из здания
Virtual LANs (VLANs) are essential for segmenting network traffic. The C1300 supports multiple VLANs, which can be configured as follows:
Step 1: Create a VLAN
C1300-Switch(config)#vlan 10
C1300-Switch(config-vlan)#name Sales_VLAN
C1300-Switch(config-vlan)#Выход из здания
Step 2: Assign VLAN to Ports
Assign specific switch ports to the VLAN:
C1300-Switch(config)#interface range gigabitEthernet 0/1 - 2
C1300-Switch(config-if-range)#switchport mode access
C1300-Switch(config-if-range)#switchport access vlan 10
C1300-Switch(config-if-range)#Выход из здания
Spanning Tree Protocol (STP) is used to prevent network loops in Layer 2 networks. The Cisco C1300 supports various STP modes:
Step 1: Enable STP on the Switch
STP is enabled by default on Cisco switches, but you can verify it or configure it manually:
C1300-Switch(config)#spanning-tree mode pvst
C1300-Switch(config)#spanning-tree vlan 10 priority 4096
Port security is critical for protecting your network from unauthorized devices. You can configure port security on the Cisco C1300 as follows:
Step 1: Enable Port Security on a Port
C1300-Switch(config)#interface gigabitEthernet 0/1
C1300-Switch(config-if)#switchport mode access
C1300-Switch(config-if)#switchport port-security
C1300-Switch(config-if)#switchport port-security maximum 2
C1300-Switch(config-if)#switchport port-security violation shutdown
C1300-Switch(config-if)#switchport port-security mac-address sticky
C1300-Switch(config-if)#Выход из здания
This configuration allows only two devices to connect to the port, and their MAC addresses will be automatically learned and stored.
Quality of Service (QoS) helps prioritize certain types of traffic, ensuring that critical applications have the necessary bandwidth.
Step 1: Enable QoS on the Switch
C1300-Switch(config)#mls qos
Step 2: Configure a QoS Policy
C1300-Switch(config)#class-map match-all VoiceC1300-Switch(config-cmap)#match ip dscp ef
C1300-Switch(config-cmap)#Выход из здания
C1300-Switch(config)#policy-map Voice-Priority
C1300-Switch(config-pmap)#class Voice
C1300-Switch(config-pmap-c)#priority
C1300-Switch(config-pmap-c)#Выход из здания
C1300-Switch(config)#interface gigabitEthernet 0/1
C1300-Switch(config-if)#service-policy input Voice-Priority
C1300-Switch(config-if)#Выход из здания
Monitoring and troubleshooting are crucial for maintaining a healthy network. The Cisco C1300 provides several commands to help you monitor the switch:
Step 1: Check Interface Status
C1300-Switch#show interfaces status
Step 2: Display VLAN Information
C1300-Switch#Показать краткое описание vlan
Step 3: View Port Security Settings
C1300-Switch#show port-security interface gigabitEthernet 0/1
Step 4: Check Spanning Tree Status
C1300-Switch#show spanning-tree
After configuring the switch, it’s essential to save the configuration to ensure it persists after a reboot.
Step 1: Save Configuration
C1300-Switch#write memory
Step 2: Restore Configuration
If you need to restore a saved configuration, use the following command:
C1300-Switch#copy startup-config running-config
Configuring the Cisco Catalyst 1300 Series Switches is an integral part of building a secure and efficient network infrastructure. This guide has provided a comprehensive overview of the essential configuration steps, from basic setup to advanced features like VLANs, STP, and QoS. By following these steps, network administrators can ensure that their Cisco C1300 switches are optimized for performance, security, and reliability.
Remember that each network environment is unique, so additional configurations may be necessary depending on your specific requirements. Always refer to the official Cisco documentation for the most detailed and up-to-date information.
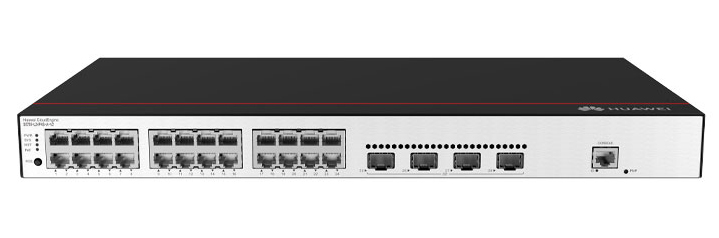
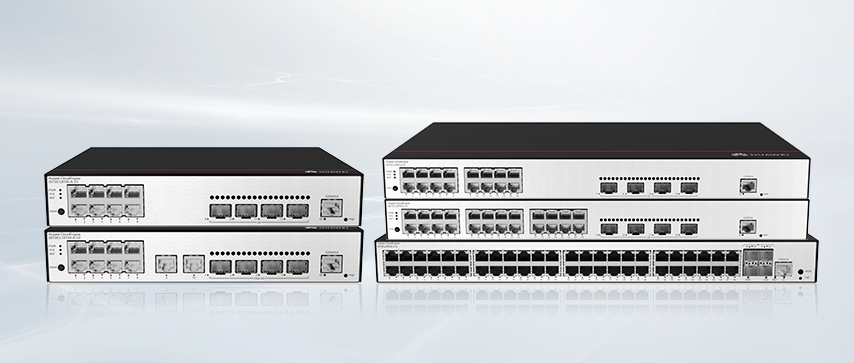
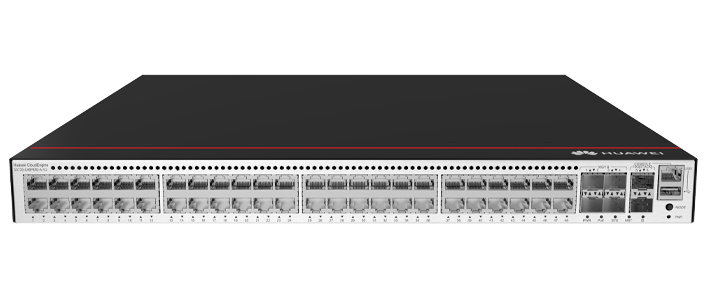
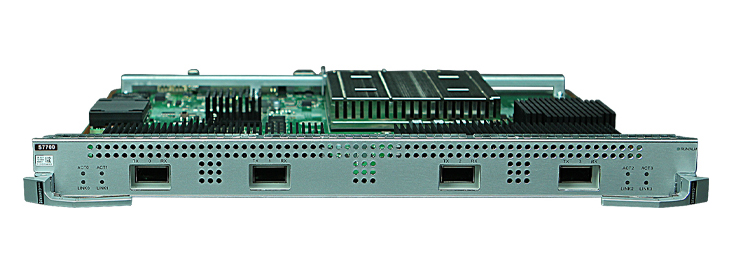
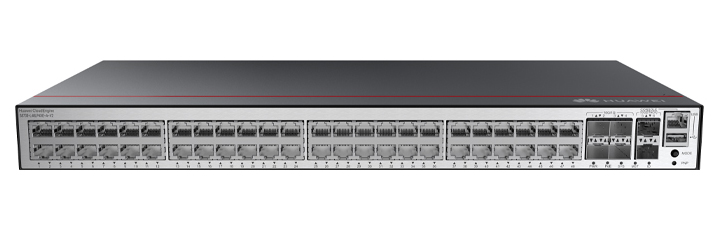
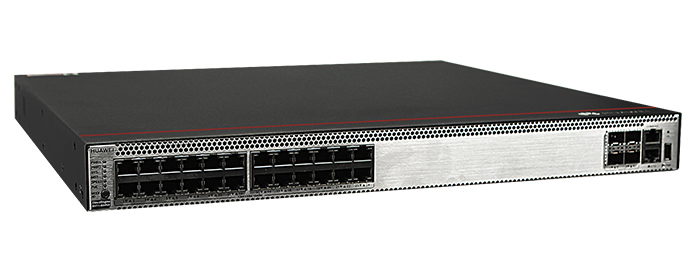
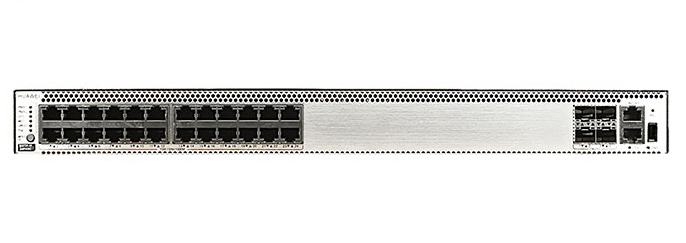
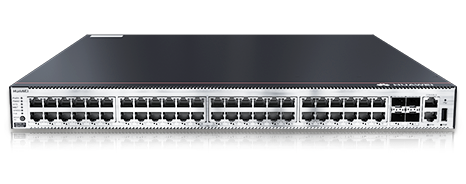
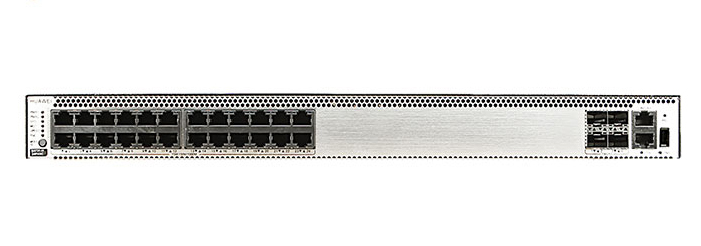
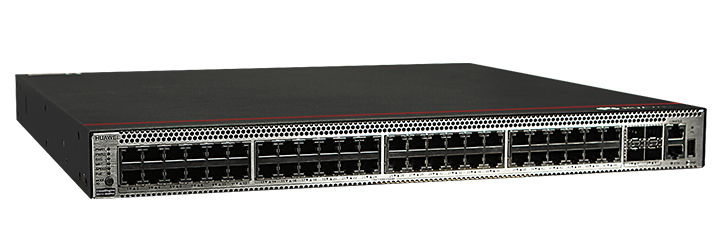
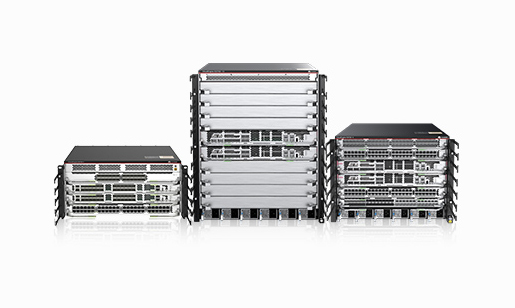
Cisco Catalyst 1300 Series Switches
For Cisco product list and quote, please visit: https://www.hi-network.com/categories/cisco or contact us at www.hi-network.com (Email: [email protected])
 Горячие метки:
CISCO коммутаторы CISCO
Горячие метки:
CISCO коммутаторы CISCO
Зарегистрируйтесь по электронной почте сейчас для еженедельной акции акции
100% free, Unsubscribe any time!
Add 1: Room 605 6/F FA YUEN Commercial Building, 75-77 FA YUEN Street, Mongkok KL, HongKong Add 2: Room 405, Building E, MeiDu Building, Gong Shu District, Hangzhou City, Zhejiang Province, China
Whatsapp/ тел: +8618057156223 * телефон: *: 0086 571 86729517 Tel in HK: 00852 66181601
Электронная почта: [email protected]
 English
 Pусский
 Français
 Español
 Português